Ok guys. If you're still into 2D Shoot'em ups (shmups) or Beat'em ups (bemus) and are browsing international bulletin boards on a regular basis, you'll
have noticed that there has been quite some discussion lately about companies messing up home conversions of arcade games by choosing the wrong
output resolution. While most people probably won't even notice, it can be quite annoying if you know what to look out for.
On this little site I'll try to clear up some mixups, put some things right and show an excellent workaround to avoid this problem.
(Please note that I'm not a video technician, but just an interested fan. So, if there are mistakes in here, feel free email me and I'll correct them. Also
email me to share your thoughts about this topic.)
THIS PAGE IS OUTDATED AND NO LONGER UPDATED !!
THE PAGE IS JUST KEPT FOR ARCHIVE PURPOSES.
CHECK THE NEW DOWNSCALING SPECIAL INSTEAD !!
UPDATE OF AS JANUARY 2011
Please note that the usage of an Extron Emotia or an UVC unit is geared towards users of low-res CRT displays, e.g. classic tube TV sets or japanese candy cabs. There are combinations in which an Emotia can be used together with an upscaler (XRGB) to get some kind of scanline emulation on modern LCD or Plasma TV sets. Those setups are NOT covered in here. If you're interested in scanline emulation on your LCD, plasma or VGA CRT, please visit my other website dedicated to upscalers and everything related. Pay special attention to the newly released SLG3000 as it's not only the best, but also the cheapest and easiest way to add scanlines to your gaming experience. Here're a few screenshot showing the SLG3000 in action on a LCD TV set - enjoy!
UPDATE AS OF SEPTEMBER 2009
As you can see I haven't done much additional work on this topic over the past three years. I've probably received well over 50 inquiries over this time from people who liked the idea or had trouble to get their setup going. From a technical standpoint there isn't really much too add. A simple Emotia can still be found for less than $50 on eBay.com and even the higher-end units (Super Emotia GX) are usually not more than $100 in nice condition. The reason for this little update is that some members of the shmups.com discussion board have drawn my attention to the Ultracade UVC (Universal Video Converter). This little PCB basically does the very same thing as the Extron Emotia units. It takes VGA to XGA resolutions and outputs 15khz signals. The downside to the UVC unit is it's retail price of $225 at Happ Controls and that Ultracade doesn't exist anymore, so these might sell out over time, the upside is it's small size and it's ability to output 24kHz which allows to maximize the picture quality on low-res arcade cabs which are able to display 24khz signals. Here's link an older review and here's one to the discussion on the shmups.com forum.
Here's a picture of the UVC pcb (courtesy of emphatic):
And here're two screenshots of DDP-DOJ on the 360, VGA output, converted to 15khz
(first Emotia, then UVC) (again courtesy of emphatic):
I'll try to get myself an UVC to do a 1:1 comparison, but at the moment it looks like if the UVC was the way to go if you want to use the device inside your arcade cab (e.g. Taito Egret II), while the Emotia is the unit of choice if you want to feed a CRT television or a LCD through an XRGB2/2+/3...
Let's start off with some video basics and changes in people's home TV setups over the past years.
I'll take it granted that you know that Video & S-Video connections are to be avoided as far as possible. Over here in Europe we've been lucky enough
since RGB scart connectors have been around for nearly 20 years now. Stateside RGB is still quite rare, but since the late 90s TVs have been equipped
with YUV (component video) inputs which basically provide the same quality as RGB scart inputs (video signals can be transcoded losless from RGB to YUV and vice versa).
All the classic videogame system (Mega Drive, SNES in standard mode, PC Engine, etc) as well as almost all 2D arcade games over the past two
decades put out 15kHz RGB signals. A 15kHz signal (well, actually 15.75kHz, but nobody really cares) is called a 15khz signal because the cathode ray
in your classic tube TV will cross the screen 15750 times horizontally per second.
If you take a 60Hz refresh rate (standard for arcade games and NTSC videogame systems) you just divide 15750 by 60 you'll see that your TV is able to
produce 262 lines per 1/60 second this way. (per 1/60 sec means "per pass"). Taking away some front porch & back porch, you'll get your 220 to 240
which most videogames and arcade game have as their vertical resolution.
The horizontal resolution isn't really limited by the TVs horizontal scanrate, but most games systems are going for a 4:3 pixel ratio, so you end up with
something like 320x240 pixels for classic arcade games.
Let's call this mode 15kHz progressive (320x240p).

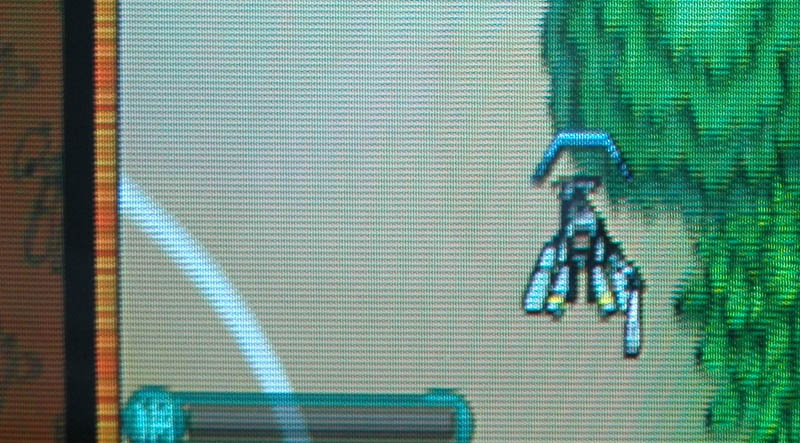
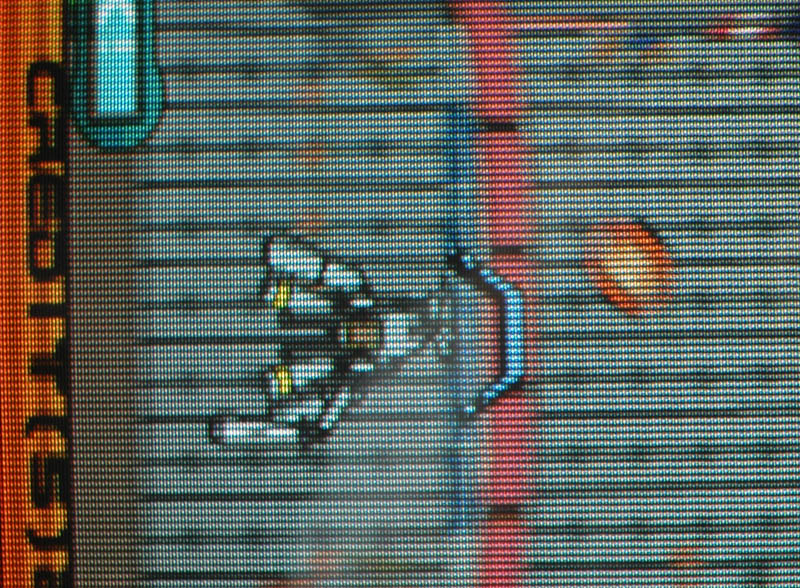
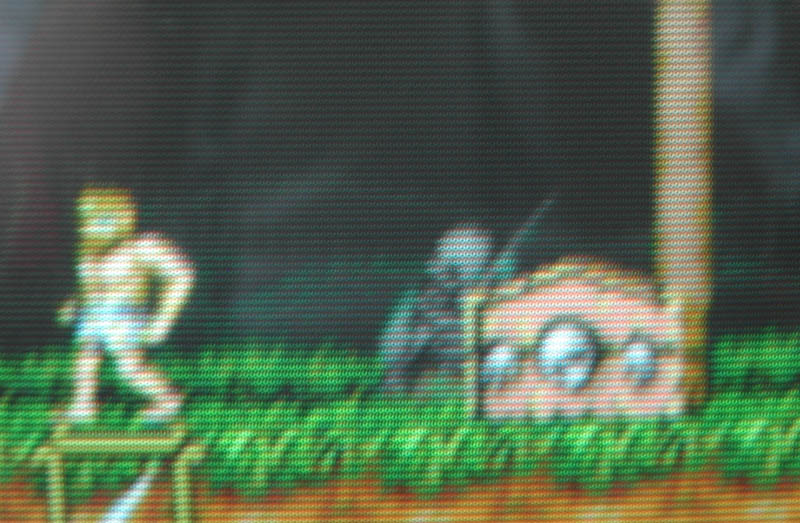
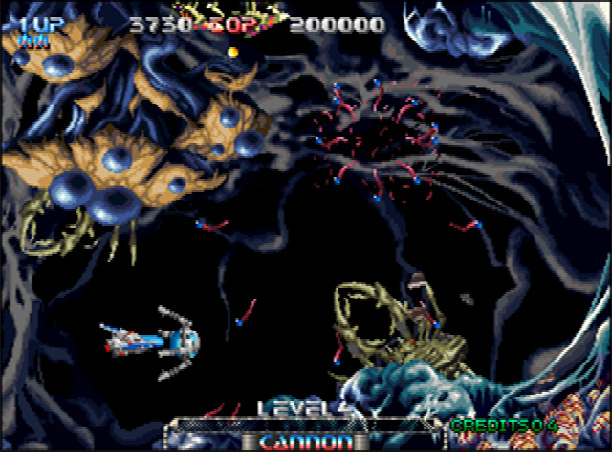
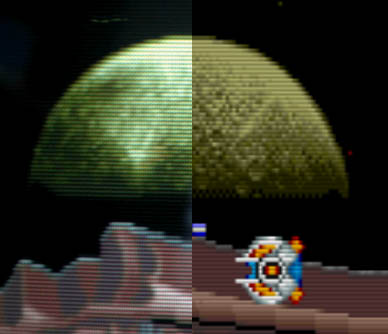
Pulstar (Aicom) in it's original resolution
and enlarged 1:4 to have a better view at the details (unfiltered, unscaled)
As you can imagine 320x240 pixels is a rather low resolution for a TV signal (or DVD if you like). This is why TV signals are transmitted interlaced. This
means that first all odd lines are drawn across the screen and then all even lines are drawn. This means you'll get 480 lines onscreen (instead of 240),
but you'll have to live with a little flicker since the two adjacent lines aren't drawn directly after each other, but only alternating (in other words you still only get 240 lines per 1/60 sec).
This mode is called 15 kHz interlaced (640x480i).
If we talk newer videogames most games are displayed this way. You get a higher resolution (640x480 pixels) at the same refresh rate (60Hz) with the
same horizontal scan rate (still 15kHz). For 3D games this makes perfect sense. The 15kHz signal stays compatible with classic TV sets and the higher
resolution (especially horizontally) makes 3D look much more stunning (just compare early Playstation 3D games with last generation PS2 3D games).
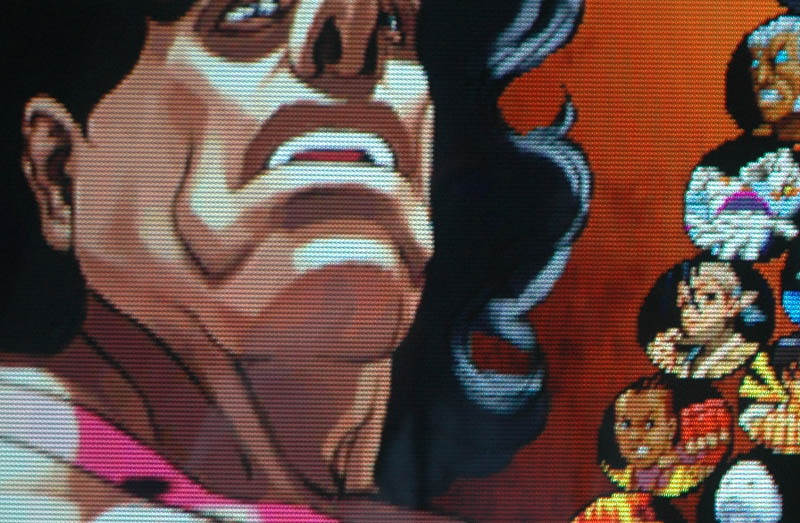
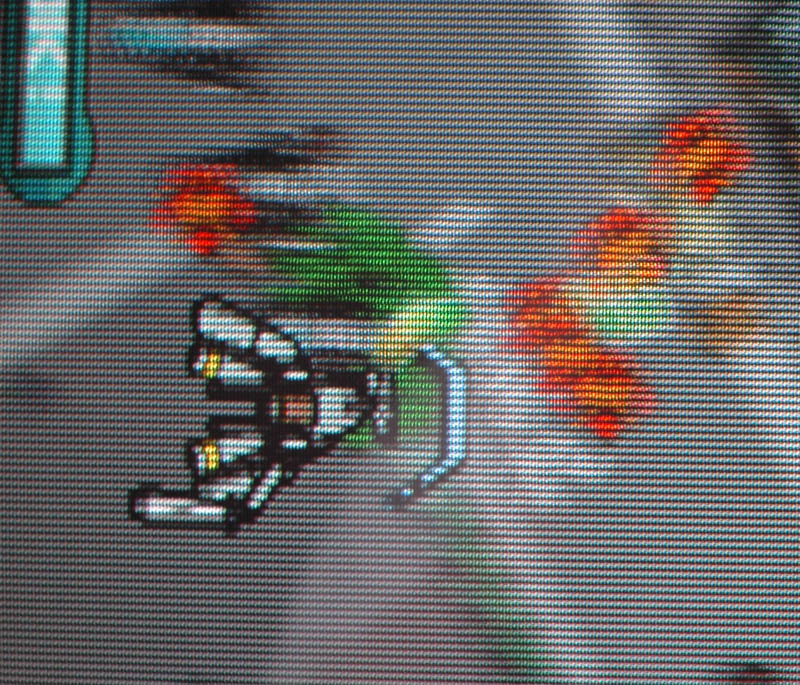
For 2D Games it's basically not this bad either. Check out Guilty Gear XX or the character select screen from Cotton Boomerang below. 2D Hi-Res can
look beautiful. The problem just is that it's hardly used with any 2D games besides these.
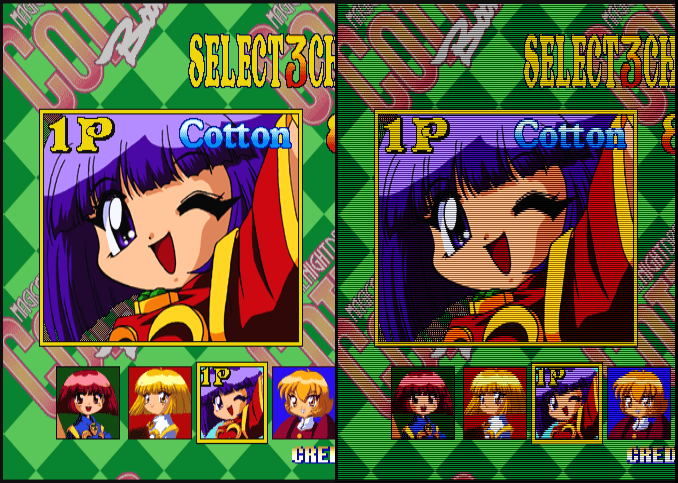
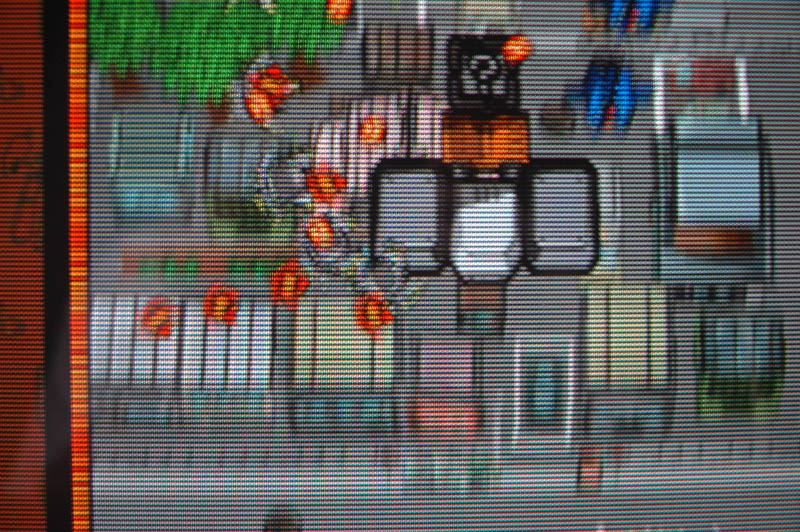
Cotton Boomerang (Hi-res 2D on the left, low-res with scanlines on the right)
If you take video tech just one step further you'll come across high-res (640x480 as before) but with progressive scan. This time all 480 lines of the signal
are drawn 60 times a second resulting in a much clearer and vertically more detailed image (since you now have 480 lines drawn per 1/60 sec). As the
refresh rate stays at 60Hz the horizontal scan rate doubles to 31kHz (actually 31.5kHz).
And this one's called 31kHz progressive (640x480p).
This signal is (when in RGB colorspace) most often refered to as VGA (or RGBHV, since it comes with seperate sync signals most times compared to
15kHz RGB with a composite sync signal). While VGA is common in the PC market and in the higher-end video market, it's more often YUV progressive
that you'll see in the the home entertainment sector. Most XBox games can output progressive YUV and some PS2 and GameCube games can do it as well.
(For DVDs the horizontal resolution has been extended to 720 pixels, but that's just a sidenote...)
Again VGA can be losless transcoded to YUV progressive and vice versa using a colorspace transoder (US$50 to US$200).
To use VGA directly you'll obviously need a VGA monitor, while you'll find YUV progressive on almost every HDTV-enabled TV set (no matter if classic cathode ray or LCD/Plasma).

Well, let's compare the three video modes above. Classic TV sets are designed for interlaced 480 line signals (actually only in NTSC countries, but let's
stick to this right now), so when running them in 240p (240 lines progressive) mode you'll see dark lines between every two drawn lines. This is typical for
all classic videogame systems and almost all arcade games of the past decades. It gives those games a typical look and makes the low resolution quite attractive.
If you like them or not is probably more or less a matter of personal taste. I'd say you simply get used to them and this is why you just want to stick with them when playing old school arcade games.
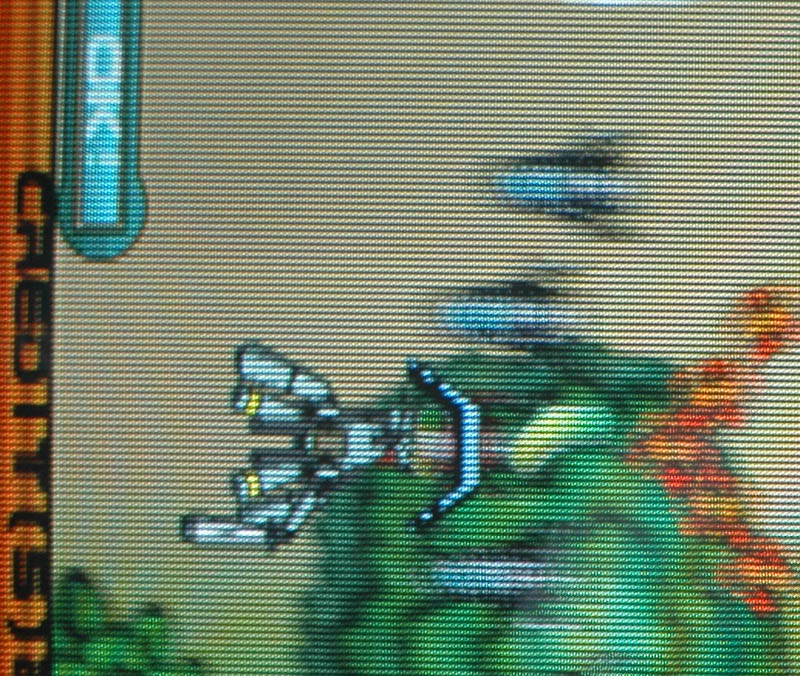
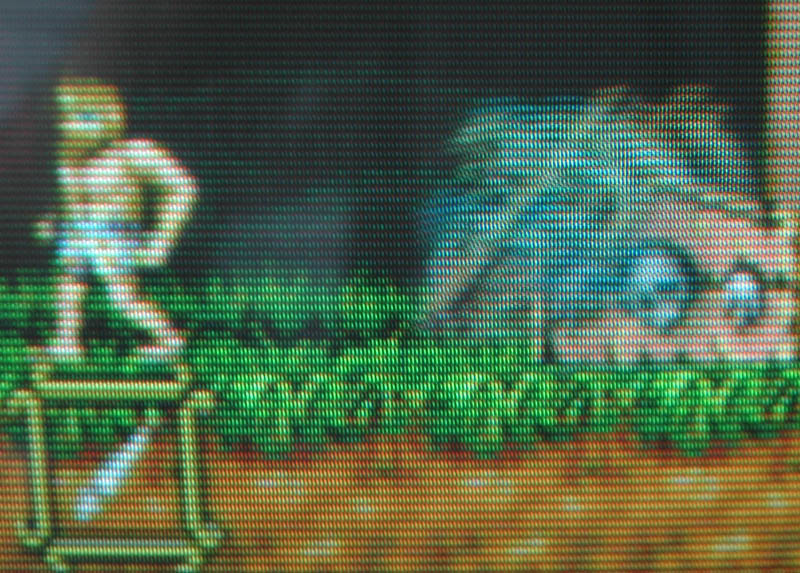
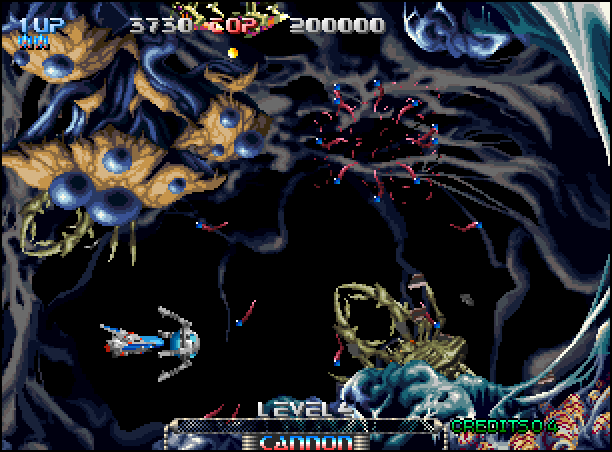
Pulstar with scanlines as it would look like on a 15khz CRT display (240p mode)
When running 480i (480 lines interlaced) the scanlines are almost gone. Basically they're gone completely, but you'll notice that you'll see very faint and
thin dark lines nevertheless. This is because every line is only drawn every 1/30 sec instead of 60 times per second.
If you're running 480p (480 lines progressive) the scanlines are gone. Every line of the picture is drawn 60 times per second.
Scanlines on next-gen TVs ? LCD and Plasma displays are generally running in progressive mode internally. You can still feed them with 15kHz signals,
but you won't see any scanlines anymore since every signal is converted from interlaced mode to progressive mode once it's fed into the TV set. The
conversion from interlaced to progressive is called Deinterlacing or linedoubling and we'll get to this a little bit later on.

Arcade games are still written and designed for 15kHz progressive modes (probably to keep them compatible with arcade cabs running with 15kHz
monitor setups). Nevertheless they're still ported to current videogame systems (Playstation 2 for example). And - unfortunately - they get all messed up.
While the PS2 (and all other current systems) are able to run in 240p mode instead of 480i mode, the companies doing the home conversions (Taito,
hello ?) of current arcade games (mostly Shoot'em ups like Cave's Ibara or Beat'em up like Playmore's latest Samurai Spirits) use the interlaced graphics
mode (480i) instead of the 240p mode. And not only new conversions are affected, also re-releases of older conversions (Sengoku Ace 2 was 240p on the
Sega Saturn, but is 480i on the PS2 - and the same goes for all those classic collections, no matter if Capcom or Taito).
There are various possible reasons behind this: It might be easier to programm, you're able to get a higher resolution when playing vertical shoot'em ups
in Yoko mode (= playing vertical games on horizontal screen setups) or the arcade PCBs just exceed the 240p resolution of current systems (there are
arcade games running with progressive 15kHz resolutions of up to 380x260 by minimizing the front/backporch of the graphic signal).
ANYWAY - do the math yourself. A game running at exactly 320x240 might be easily be ported to run on a 640x480i system, but most arcade games
are running with some odd resolutions slighty under or above the 320x240 sweetspot. Those games are now scaled up to the (in-)proper resolution. And
whily the actual scaling isn't this bad in most cases (you'll see later on when we're forcing 480i games into 240p mode), the flickering produced by the interlaced display mode can get extremely annoying.
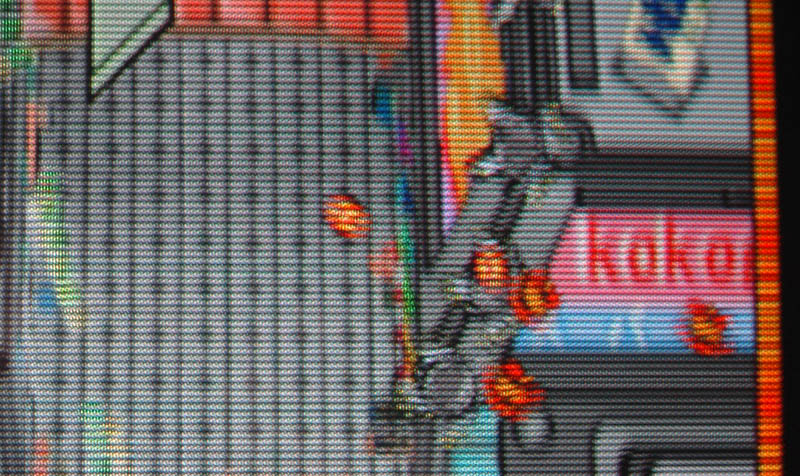
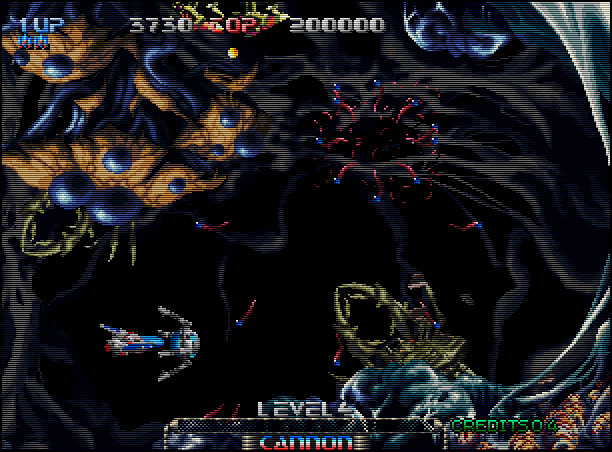
this is what Pulstar would look like filtered & scaled,
add interlace flicker to this and you get the idea...
If you're browsing international bulletin boards regularly you'll run into some fighting about how to call those games running at the wrong resolution. I've
found "fake hi-res" to be quite to the point. The actual graphics are still low-res (320x240 +/- somethin'), but the system is running at 640x480i, so
actually every pixel of the original graphics is produced out of 4 pixels now.
NOTE:
real low-res (240p) and fake hi-res (480i) games will look exactly the same on a LCD or Plasma display (in terms of missing scanlines), so you
don't really have to worry about this topic when using such a kind of display.

1. The luxury way: buy the PCBs. Go buy Ibara Black Label for US$2000 instead of the PS2 version for US$60. If you can afford it, that's the way to go.
Get a nice arcade cab, get somebody to do the game swapping for you and be happy.
Ibara Black Label (230.000 Yen, 03/2006)
2. The classic way: if you don't care about the wrong resolution, about the interlaced flickering and just want to have some fun, you can take your 15kHz
TV set or monitor, hook up your videogame system (let's stick to PS2 for now) and play the games just as thousands of people do it. If you have a
smaller TV you can turn your TV by 90° and enjoy many shoot'em up conversions in Tate mode. This way you'll get a higher resoltution of of the games,
but most games will still run in interlaced mode (fake hi-res).
3. The new way: if you have bought one of those fancy flat-panel displays (LCD or Plasma) you can still hook up your videogames. The processor
integrated in those TVs will deinterlace the incoming picture (in other words: convert the picture from 15kHz to 31khz) and scale it up to the proper
resolution of your display. The result WILL look disgusting, believe me. While the flickering might be completely gone, the picture will get extremely soft
with probably lots of artefacts and lots of overdone edge-enhancement (false sharpness) which are introduced by the poor processor inside your display.
4. The new way as it's meant to be: you have thrown out thousands of dollars for your new LCD or Plasma ? Then take another US$1000 and buy a
decent video processor. Various brands are avaiable (DVDO, Lumagen, PixelMagicSystems, etc) and they'll boost up your picture to current standards.
Your image will be more vibrant, much sharper and much more like what you would expect from a progressive CRT picture (though still not AS sharp). I'll
show you what a external video processor (scaler) can do later on.
5. The elegant way: ok, this is basically what this whole site is about. The most elegant way to play "fake hi-res" games nowadays is to force them into
their original 240p mode. There are nice little machines out there which can do the trick for you. You'll be amazed how the picture seems to get cleaned
up by forcing the output into 240p mode. As said above the scaling of the game isn't this problematic. You can get completely rid of the interlacing on your TV.
6. The elegant way - sophisticated: combine a 240p scan converter with a nice candy cab and you'll be equipped to play all those arcade conversations
the most elegant way. The setup is easy, especially if you've been able to get your PS2 running in a Jamma harness before. Play Mushihimesama and
Ibara low-res on a candy cab and that's as near as you can get to the arcade original without throwing out thousand of dollars for the PCBs. It's really amazing.

for the best possible picture on LCD and Plasma Displays.
Ok, to be honest, this is far more complicated topic as it seems to be. I could write a dozen of pages just covering this topic. If you dare, take a trip to
the AVS boards and visit their video processors board to get into it.
When hooking up a videogame system (running at 480i) to a LCD or Plasma there are two things that need to be done to the incoming signal. First of all
the 480i signal has to be transformed into a 480p signal. For low-res games this isn't a problem, but it's a real problem for anything else. When two
consecutive fields (the first one with all the odd lines and the second one with all the even lines) are merged together to get a full 480 line frame, a little
time will have passed between the ouput of the first and the second field. If this picture has some motion in it, the two fields won't fit together.
The resulting effect is called feathering.
But no matter how, the two fields have to be merged together - NOW! The video processors inside the current generation of LCD TVs and Plasma
displays do an extremely poor job with deinterlacing 480i to 480p. External processors equipped with custom chipsets to do nothing but this are much better at this job.
External deinterlacing solutions can be bought for nearly any price. Those cheap VGA converters from HongKong will do the job, but they won't do it any
better than the processors inside your TV, so forget about them. A little bit more pricy are dedicated videogame deinterlacers like the XRGB2+ (from
Micomsoft). You can buy this one for about US$150 used or US$220 new. It will do a great job at keeping a clean and sharp picture while converting from
480i to 480p, but it was originally built for 240p sources and so you'll loose half of your vertical resolution when using one of those.
Decent Deinterlacing machines start at U$350 used for a DVDO iScan Ultra.
After the picture has been deinterlaced it needs to be scaled to the resolution of your flatpanel display. Current LCD TVs have a WXGA resolution (that's
1366x768 pixel) and so every incoming 480p signal needs to be upscaled to this resolution. Again most TVs do an incredibly poor job with this scaling, resulting in artefacts and very soft picture.
External scaling solutions (which have all good built in deinterlacers) on the other hand do a great job with scaling those signals. Another great advantage
is that you can feed your TV with it's native resolution. By feeding a display with it's native resolution you'll disable the display's internal scaler and thus
achieve a much sharper picture (you'll of course know what I mean if you're using a LCD screen for your PC or are working on a notebook).
Decent Scalers start at US$1000 for a DVDO iScan HD+ or a
Lumagen DVI.
That was "Deinterlacing & scaling in a nutshell" ;)
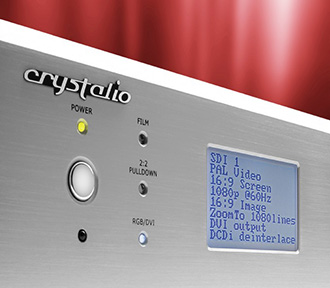
PixelMagicSystems Crystalio Scaler

The hardcore arcade fans of course don't want any LCD screens, they want their "tated" CRT TVs or their candy cabs and - as said before - playing
arcade games in a resolution they weren't meant to be in can be a real pain in the a**. And while forcing a 480i output into 240p is actually quite easy I really wonder why I have never before read about it.
When a game originally running at 320x240 is run in a 640x480i screenmode the lines are just doubled (you remember the 4 pixel for 1 example above).
So, by dropping every second line and "replacing" it with a dark scanline is exactly what you want to do. You want to convert the 480i back to 240p.
If you have been into broadcast tech before you'll know that there are scan converters out there. These units have been designed to convert a computer
signal (e.g. SVGA or VGA) to video signals (e.g. S-Video). Current scan converters with decent quality start at about US$1500 from Folsom or Sony and
can go up to US$8000 for real decent quality, but those don't even have the feature we want to use. While playing around with lots of different scan
convertes over the past years, I've run into an interesting line of scan converters from back in the late 90s.
All scan converters offer a flicker control which helps to eliminate flicker when outputting PC graphics to VCRs or video beamers. Now for the interesting
part: those old broadcast line of scan convertes have a two level flicker control. By enabling this control, the incoming signal get's converted to a 240p
signal. Probably not what the users had in mind when your goal is a 480i signal, but use this on a videogame signal and it gets the job done (a little
modification to the processors was neccessary). It converts your games back to 240p, back to 240 lines of progressive RGB output along with our beloved scanlines.
Over the past months, I've installed quite a few of those scan converters into videogame setups (and arcade cabs) with excellent results. While you can
still notice that little scaling done in those PS2 conversions (especially if you've played the PCBs for ages), you won't come any nearer to arcade perfection without buying the PCBs.
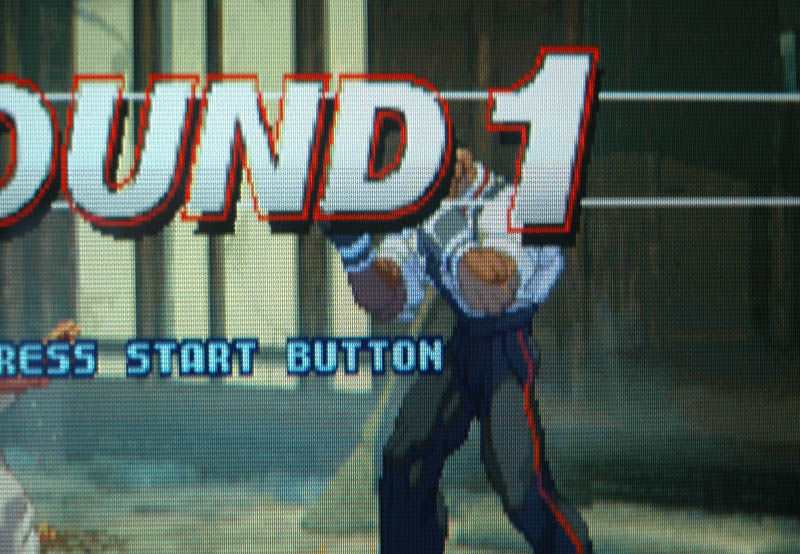
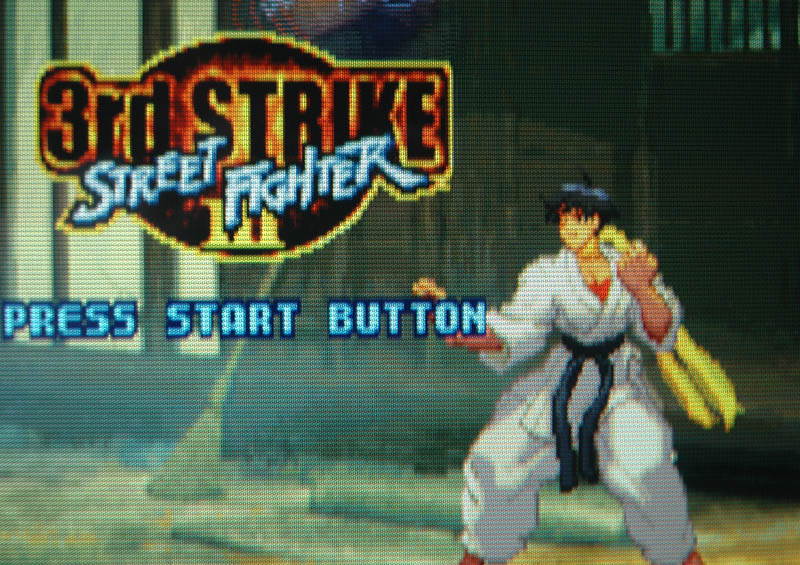
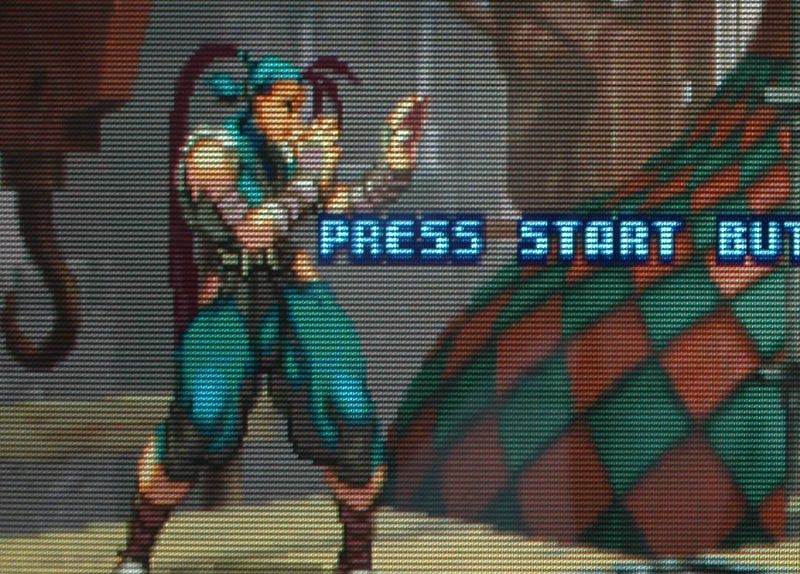
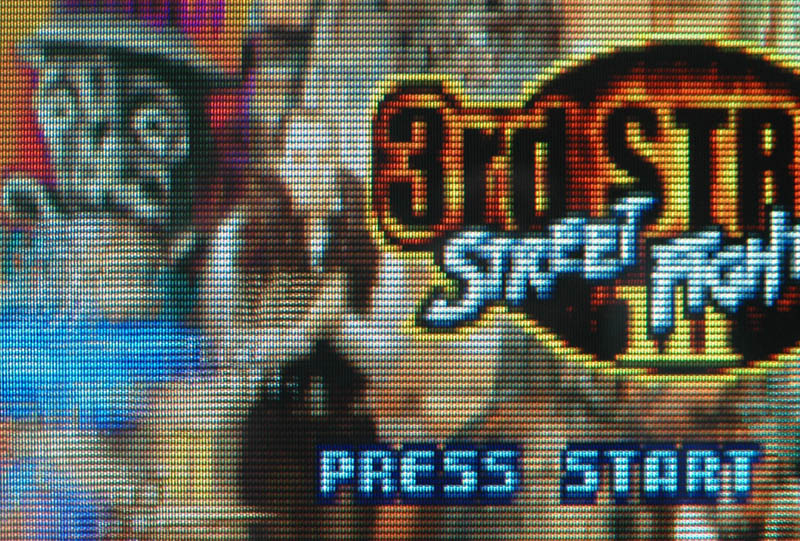
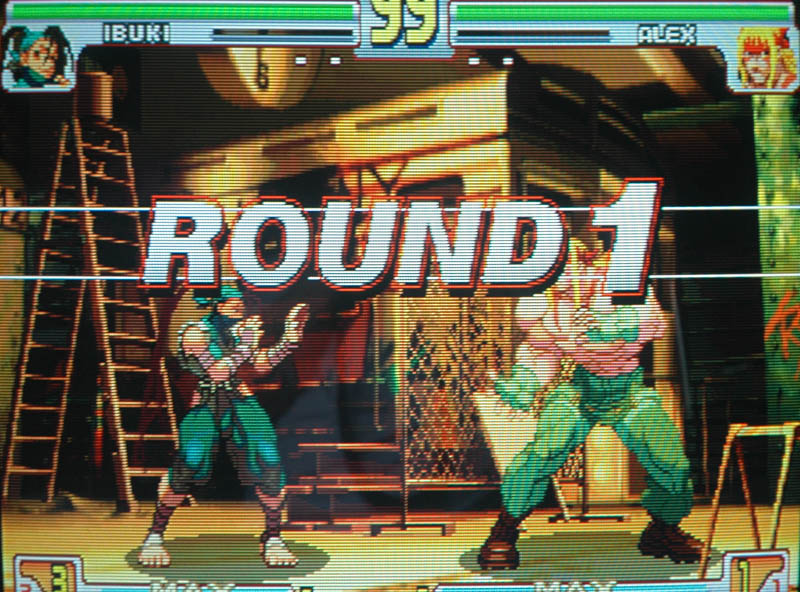
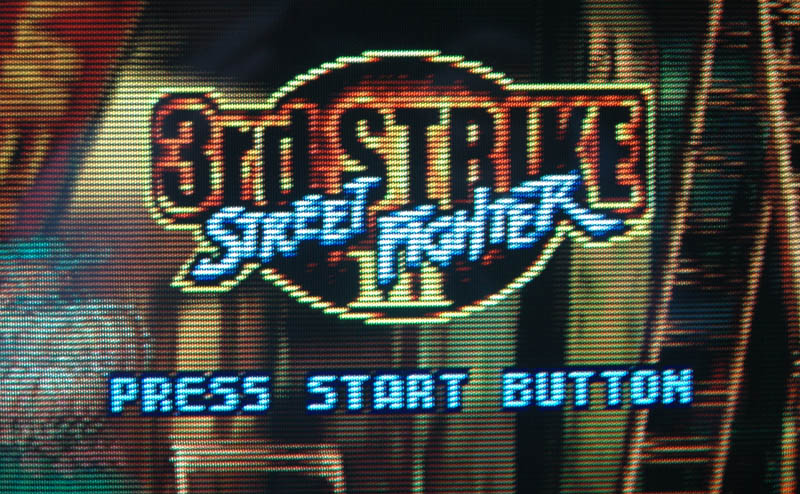
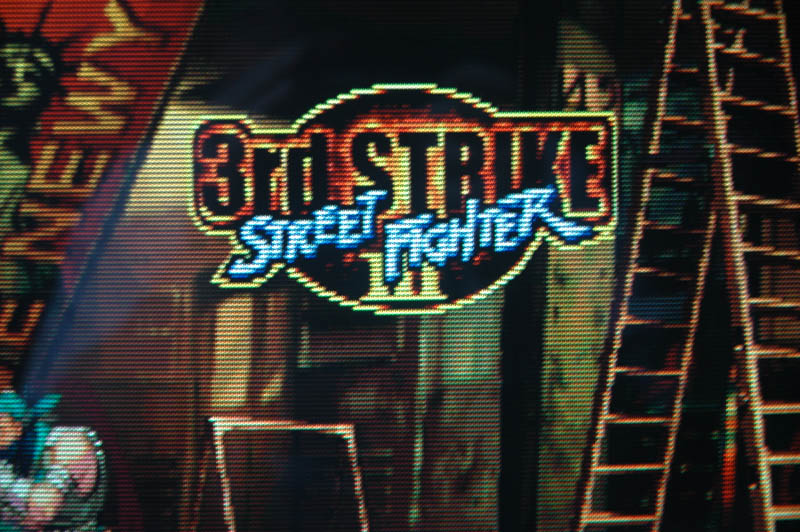
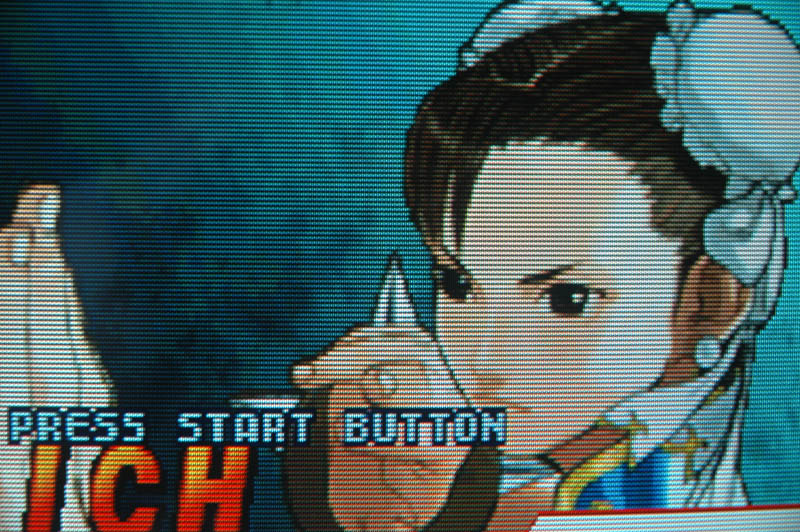
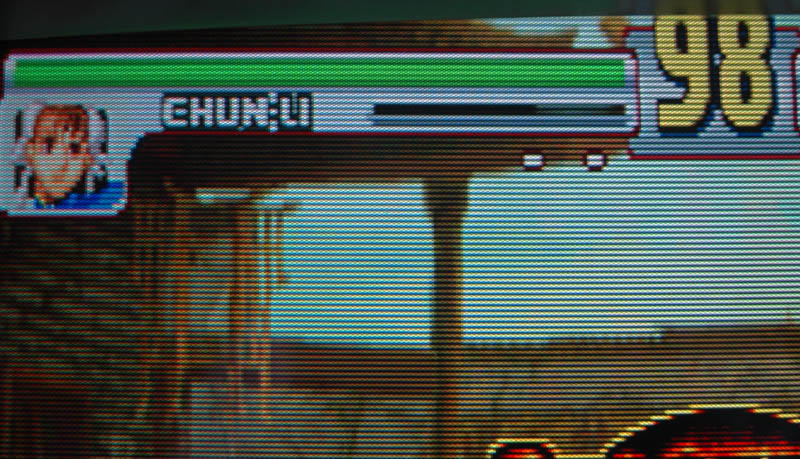
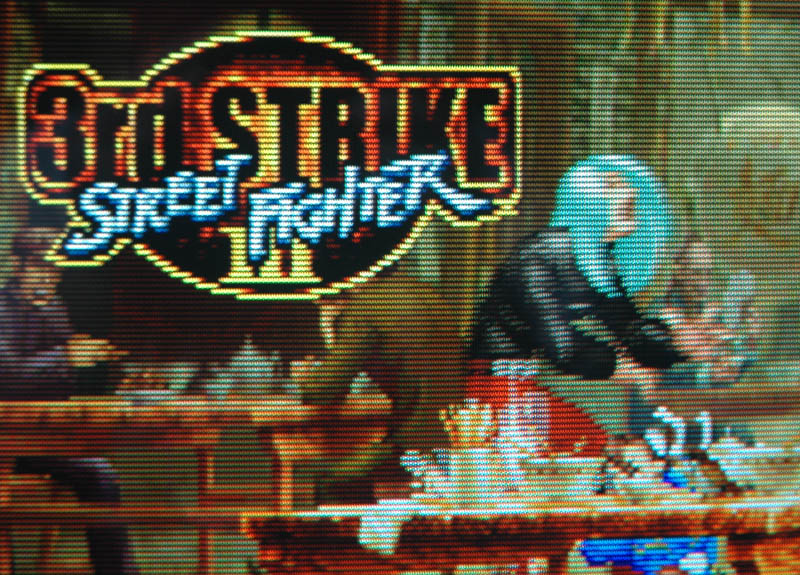
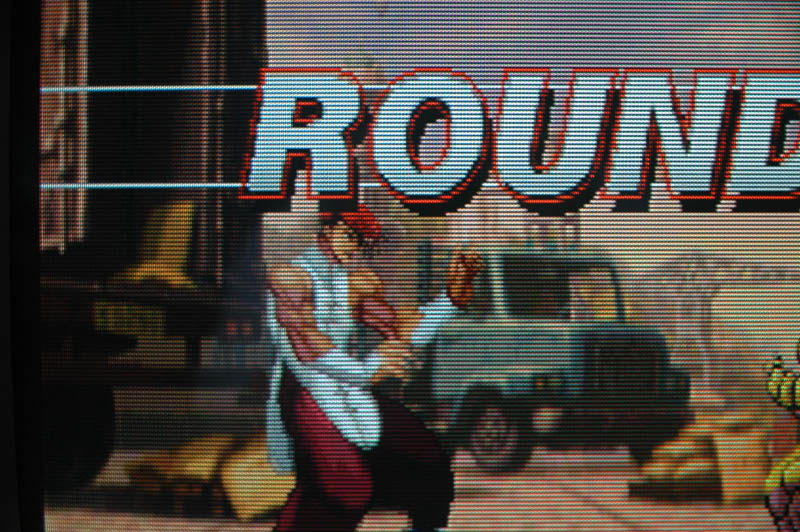
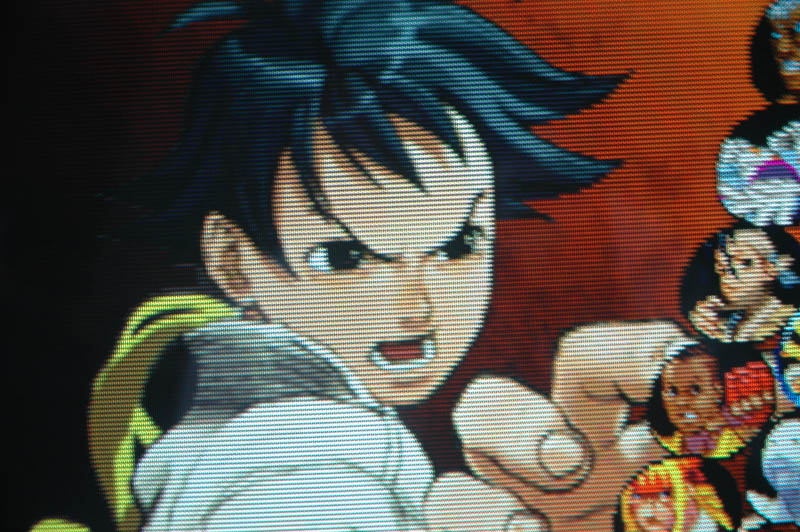
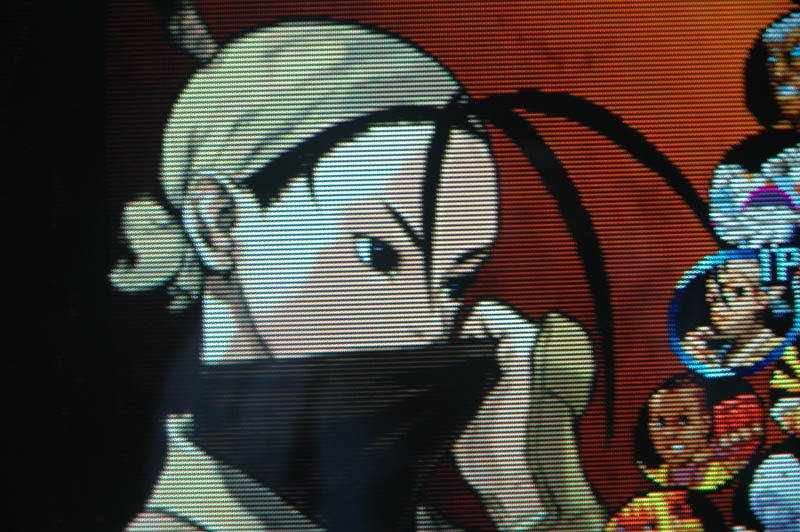
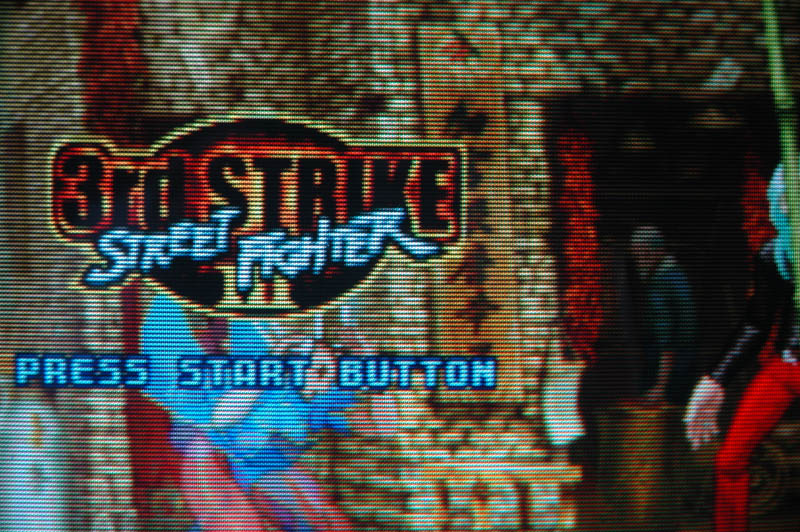
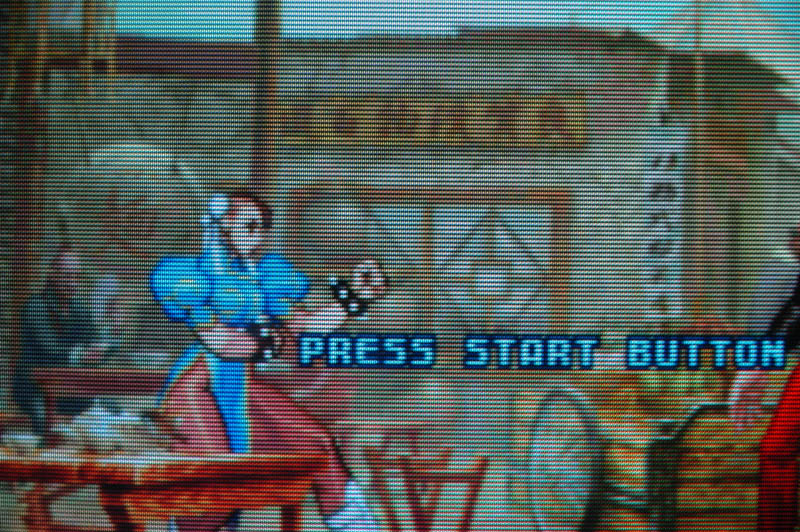
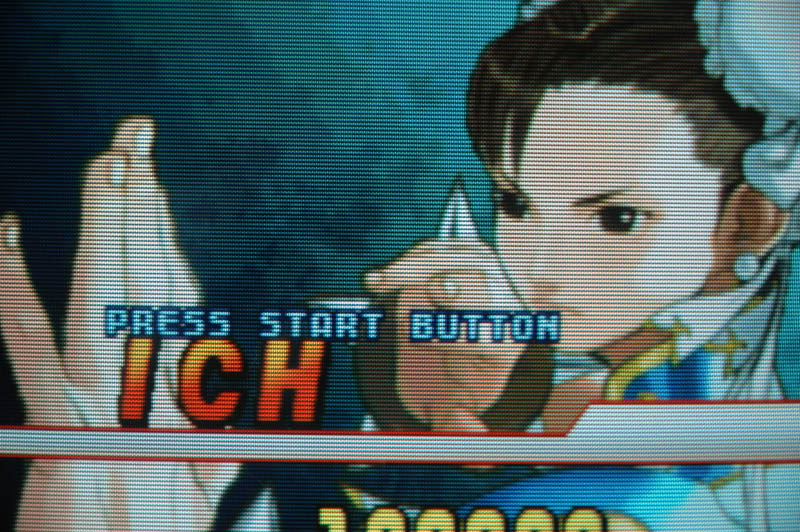
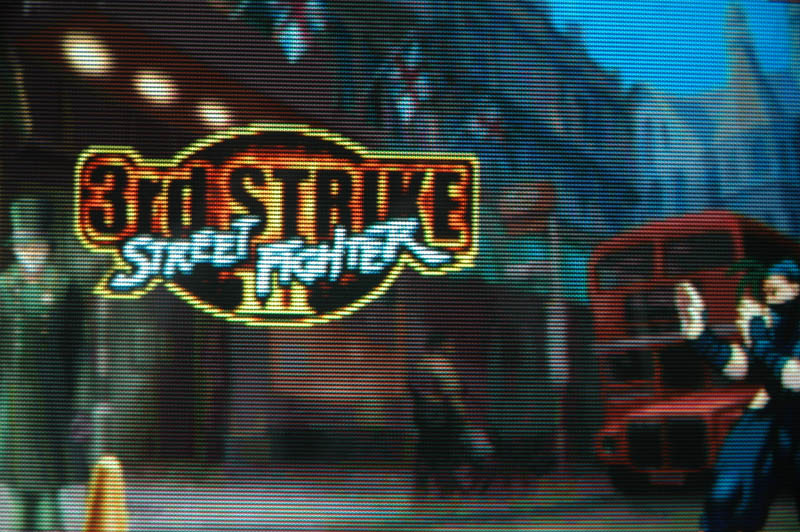
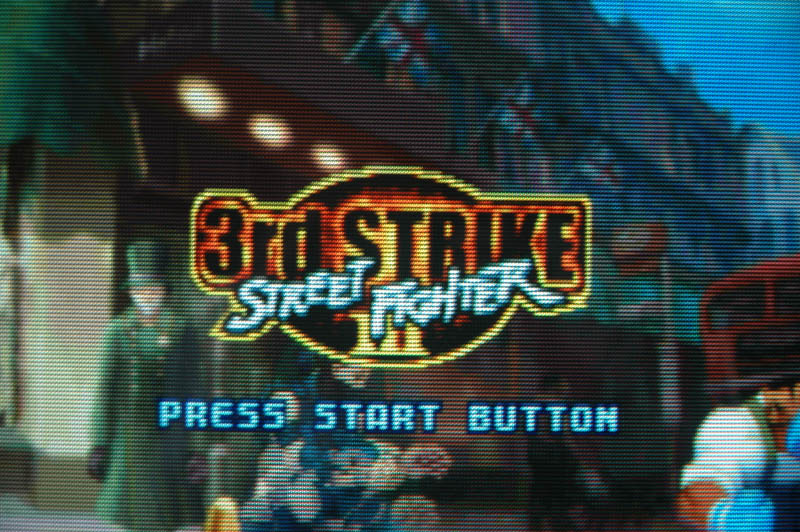
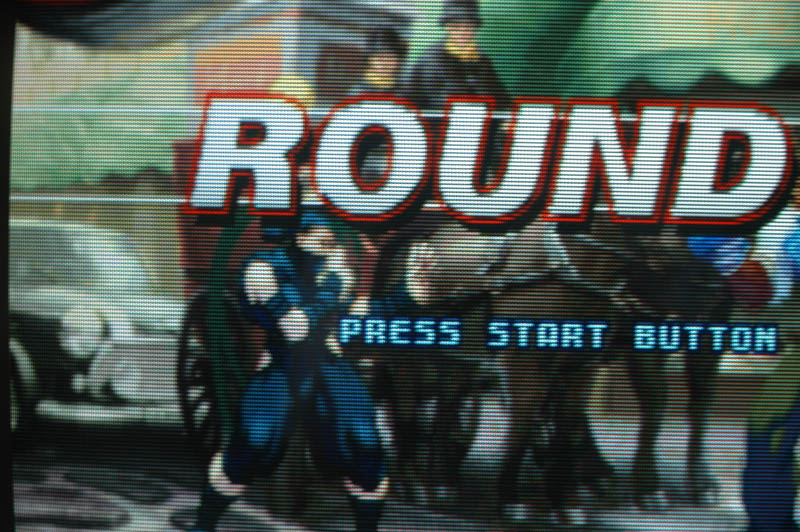
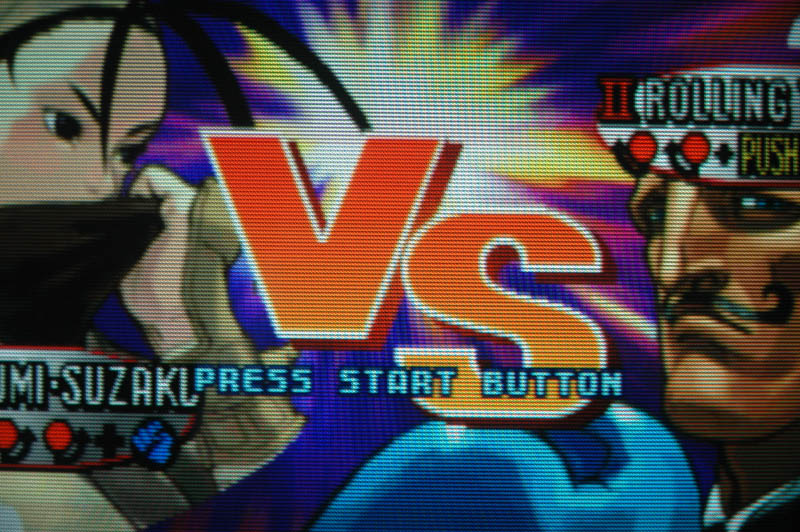
The following is small example of how STREET FIGHTER III 3RD STRIKE can look like:
Pictures of SFIII 3rd Strike running on a Dreamcast via RGBs in fake high-res:
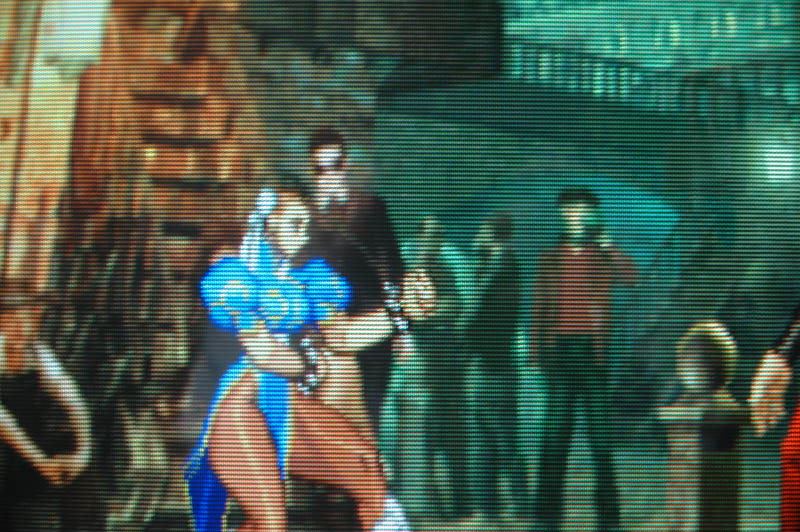
Pictures of SFIII 3rd Strike running on a Dreamcast via RGBs in native low-res (holding with Y+Start during bootup):
Pictures of SFIII 3rd Strike running on a Dreamcast via VGA (high-res) and through a scan converter in real low-res:
As you can see from the above pictures, the 480i to 240p conversion is quite lossless and it's very hard to see any differences to real 240p at all...
And here you go with some other nice examples what scan convertere can do:
More Dreamcast RGBs high-res shots (note that "real" high-res games are included for demonstration purposes...):
And more Dreamcast VGA high-res games converted to 240p using a scan converter:
And some progressive fake high-res XBox Games being converted to 240p using a scan converter:

Once you have a good scan converter and start playing around, you'll find that these machines are rather flexibal. You can do tons of cool stuff with
them. Here are just a few examples for what you use a scan converter:
1. First of all you can of course use them the way they're meant to be used: To connect a PC to a VCR or TV. Nowadays of course nobody uses a VCR,
but you can connect your PC to a DVD or HDD recorder to record your play sessions. It doesn't matter if you're playing some 3rd person shooter or your
favourite Raizing Shoot'em up on MAME. You don't have to hassle with capture tools, don't have to encode your video and don't have to author your
DVD. Just plug'n'play. Connect your PC to your DVD recorder and record whatever you like. Of course you can also simply playback some porn and
record it to DVD without having to re-encode your DivX movies first. The quality of an old broadcast scan converter is of course massively superior to
those cheap ($100 range) PC to TV solutions offered on Amazon and at Radioshack.
2. MAME all along. Forget about those CPU hungry filter settings. Who wants emulated scanlines or an ArcadeVGA card which renders your PC pretty
useless for everything else. Just connect a scan converter to your PC running MAME and connect the scan converter to your favourite display or arcade
cabinet. With flipping a switch on front of the scan converter you can switch between 15kHz high-res for 3D games in MAME and 15kHz low-res for your
oldschool Shoot'em up or Beat'em up. Broadcast scan converters rival the quality of the ArcadeVGA card easily and with BNC RGBS output you can
use high quality cabling inside your cab. (Video and S-Video (and component depending on the scan converter used) are of course available as well for non-RGB monitors).
3. Mixed multi-monitor setups: nearly every graphics card sold nowadays can be connected to two monitors at the same time. Make your TV or arcade
cab your 2nd monitor and stop hassling with recabling depending on what applications you're using. You can run Word & Excel on your connected TFT
screen while running MAME to your cab or TV. Don't even think about using your graphic card's S-Video or component output. It won't rival the quality of
a professional scan converter in any aspect. By using the scan converter's VGA loop connector you can setup great 2-player sessions. Just as with
those Sega VS cabinets, each player gets his own screen: while one player stays at the PC screen, the other one just sits before the TV. No more crowded space before your 19" pc monitor.
4. Embodiment of Scarlet Devil, Perfect Cherry Blossom, Imperishable Night, Phantasmagoria of a Flower View and lots and lots of other fantastic doujin
shoot'em ups or beat'em ups inside your arcade cab !! Of course MAME isn't the only thing you play on your PC connected to your cab or videogame
display. Since scan converters are 100% independent of the software running you can use whatever you like and pump it into your scan converter.
5. Videogame consoles within arcade cabinets. A scan converter is most definitely the ultimate way to connect your videogame consoles to your arcade
cabinet. Stop messing around with selfmade Scart to RGBS/Jamma adapters. Stop playing SF3 3rd Strike on your XBox is messy High-Res. Stop
playing Ibara on your PS2 the way it was never meant to look. Again you can easily switch between flicker-free high-res and low-res with scanlines to
make the games look like whatever you like. Since scan converters take in 31khz RGB signals you can easily connect your Dreamcast or XBox with the
right cables. For PS2 usage you need to upscale the picture before going into your scan converter. An XRGB2+ or even a Hori Upscan Converter 2 will
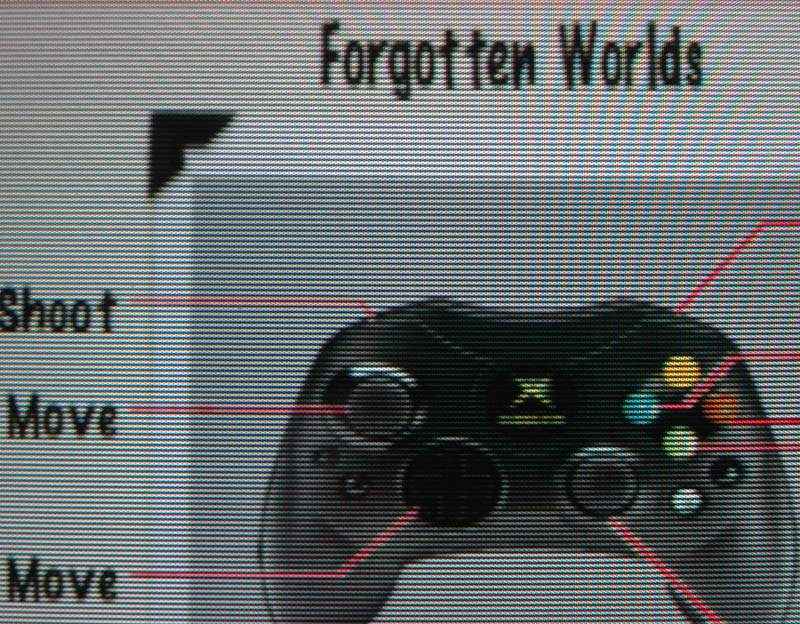
easily do the trick. Just recently played Forgotten Worlds on the XBox Capcom Classics Collection. It's fantastic conversion with great playability and with a scan converter it even looks like the PCB.
6. The lost Dreamcast gems: with a scan converter you can play those games in glorious RGB which refused to boot up before with a RGB cable
connected. The most popular titles are obviously Capcom's Street Fighter Zero / Alpha 3 and GigaWing and Sega's Skies of Arcadia. Fanstastic games
and with a scan converter finally to be played the way they look best !!
7. Playing games in Yoko orientation, but in full TATE resolution. Yes, you've heard right. Take a sweetspot card for your PC (or any other video input
card you like). Switch your console game to TATE mode (or use a PCB). Use your graphic card's driver to pivot the screen by hardware by 90°. The video
input / overlay will turn with the screen. Now connect your PC's VGA output to the scan converter and connect it to your TV. The result: you can leave
your monitor in Yoko orientation, you'll have Yoko like gameplay (with borders left and right), but you get the full resolution of the TATE mode (with
low-res games, that's about 75.000 pixels compared to 43.000 pixels in Yoko mode) - and with the scan converter you get all that along with scanlines - if you like. It's gorgous.
It's hard to describe how good things look running on a 15kHz monitor or television through a nice scan converter. Emulated games (no matter if arcade
games, SNES, Neo Geo or other game systems) have never looked better. Don't rely on scanline emulation or weird filter settings. With a scan converter
the games look like they've been programmed. You can even run a PSX or Saturn emulator on your PC, connect the PC to your scan converter and you'll hardly notice any difference to the real thing.
With classics collections being released lately in quite large numbers (Taito Memories, Capcom Classics) you can finally buy and play these like they've
been looking 10 to 20 years before. With a decent scan converter those classic compilations really start looking like the real thing and become much more play- and enjoyable.

On the way getting there I've tried about a dozen scan converters. Currently I'm using a Extron VSC 700D by myself (US$2000 machine), but it does not
support non-interlaced output. The machines I've found to be most convenient for the usage above are the mid- to late 90s Extron Emotia series of scan
convertes. Still not at all machines of this series will support videogame input or non-interlaced 240p output, but the following two machines will.
The machines have been in the US$3000 ballpark back in the 90s, but now be found anywhere between US$100 and US$500. The Extron machines are
built for eternity. If they're working when you get them, you can be quite sure they'll live far beyond any other parts of your equipment.
The pictures above have been taken from a mediocre early 90s Philips RGBs monitor. It has hard to take good photos and blur with moving objects was a
major issue of course. If you're using a scan converter with a 29" TV set or arcade cab monitor the scanlines will of course be even more visible than they
are on the pictures above. Always remember that you get REAL 240p output from those Extron machines. Those scanlines are not emulated and they'll
look *exactly* like your typical scanlines on any your PBBs or 80s and 90s low-res videogames.
Here's a little photo of the test setup: The Extron converters are connected to the Philips RGBs monitor by Scart (RGB).
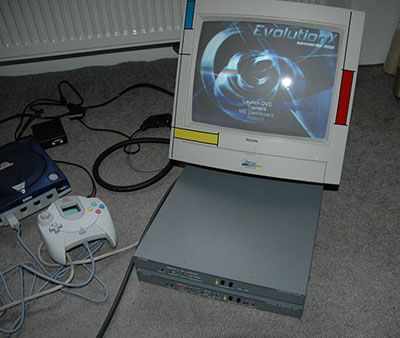
Extron Scan Converters with Philips RGBs monitor
The two scan converters I've used for this test setup are the EXTRON EMOTIA PLUS and the EXTRON SUPER EMOTIA GX.
The Emotia Plus accepts 640x480 (31kHz) only on it's inputs and will output Video, S-Video and RGBs with 15kHz. A switch on front will let you toggle
between unfiltered high-res, filtered high-res (ever wanted to play games like Ridge Racer 5 flicker-free?) and pure 240p non-interlaced low-res.
The Super Emotia will do the same, but it can accept inputs up to XGA (1024x768p) and will let you output Video, S-Video, RGBs and YUV. The GX
stands for Genlock functionality, but you won't need this feature.
Here's a close-up shot of the machines:
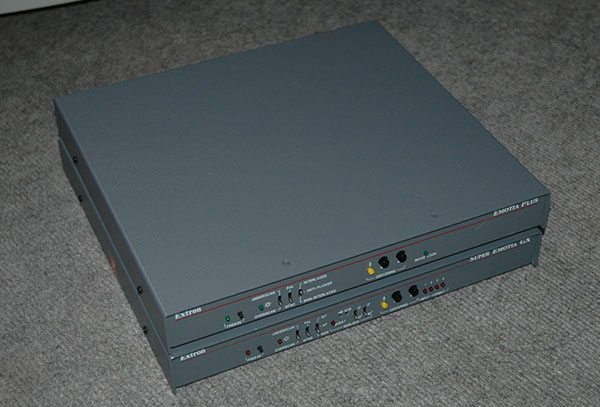
Extron Emotia Plus & Extron Super Emotia GX (front)
On the front you can toggle between underscan and overscan, PAL & NTSC output, unfiltered & filtered high-res, low-res and you adjust the width and the
position of the picture without having to use the monitor's setup controls - EXTREMELY convenient when using arcade cabs with hidden controls.
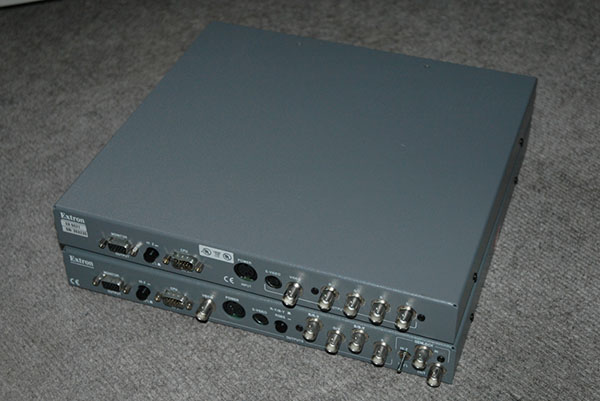
Extron Emotia Plus & Extron Super Emotia Gx (front)
On the back you'll find a RGBHV input (and loopthrough output), power connector, Video & S-Video outputs, RGBs outputs. On the GX machinese you'll
also find genlock connectors and on the Super Emotia the RGBs outputs can be configured to YUV ouputs as well.
OK, that's it for the moment. Feel free to email with any questions after reading everything. I tried to
make everything as easy to understand as possible, but if you're new to videotech you might find some things a bit hard to understand.
If you plan on buying an Emotia on eBay, watch out for one of these units: Emotia, Emotia Plus, Super Emotia, Super Emotia GX. On the Super Emotia II units, Extron removed the non-interlaced output, in favor for two different interlaced
anti-flicker settings. The earlier Emotia II still show "non-interlaced" on the front of the case, but that's not right. The later Emotia II units reflect this by only showing "1, 2, 3" next to the anti-flicker switch. If you can't find
an Emotia, the UVC (presented on top) is a nicely working alternative.
THANKS FOR YOUR TIME AND GOOD TIMES WITH YOUR SCANLINE REGENERATORS !!!
And to add a reply to recap's comment (on insertcredit.com)
"The author did write it under a misguided assumption; that the usual native res of a "fake
hi-res game" is 320 x 240, while it's not. Most emulated games on Xbox, PC, or PS2 just can't be displayed properly with his scan converter solution
since they weren't upscaled proportionally to begin with. Not to mention that the graphic filters will still be there after the scanlines addition."
That's not what I wrote. I actually even wrote above "but most arcade games are running with some odd resolutions slighty under or above the 320x240 sweetspot
." And I also wrote that you'll still notice the filtering, BUT hey, for a mere investment of about US$100 you'll get closer to the typical arcade
look of your games than you've even been before. If you've paid $1000 for a cab and multiples of that for your systems, your mame pc and all your
cabling (and not even speaking of the games), this is a nice opportunity to pimp your system for very little money - I think :-)
Of course those things can't restore the original resolution of your game but with the generel blurriness and excessive contrast settings of most arcade cabs, you'll hardly see a difference - believe me !
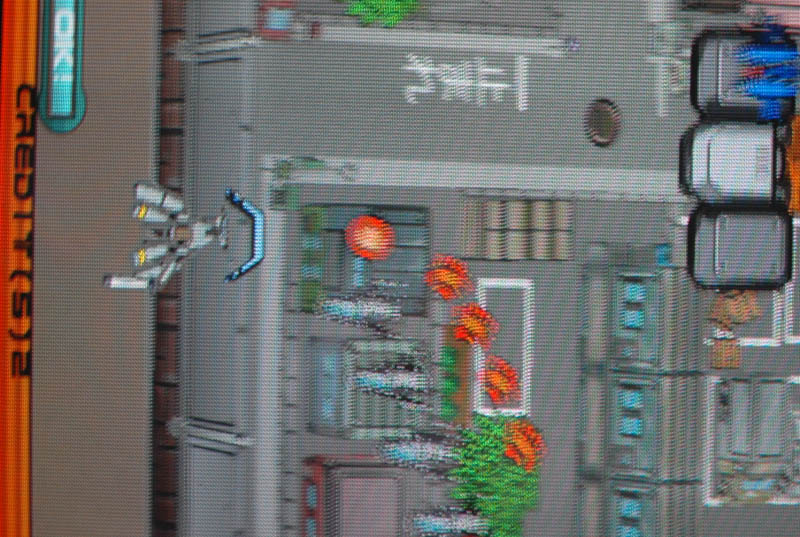
Here's a final comparison shot: Forgotten worlds (Xbox, filtered, badly upscaled, run through a scan converter, photographed, resized and scaled again)
vs. the same game (Mame, original res, no scaling at all besides the one in photoshop for the shot below). I really wouldn't call the Xbox one to the left so much worse...
|
|